Burning budget at the start of an advertising campaign often happens not because of bad creatives or harsh Google algorithms, but due to basic inattentiveness to the details of the offer itself. Based on our team’s practice, launching “blindly” wit
hout prior technical and legal verification of the affiliate offer is guaranteed to result in running at a loss.
In this article, we will break down a step-by-step algorithm for checking an offer before sending money to your advertising account balance.
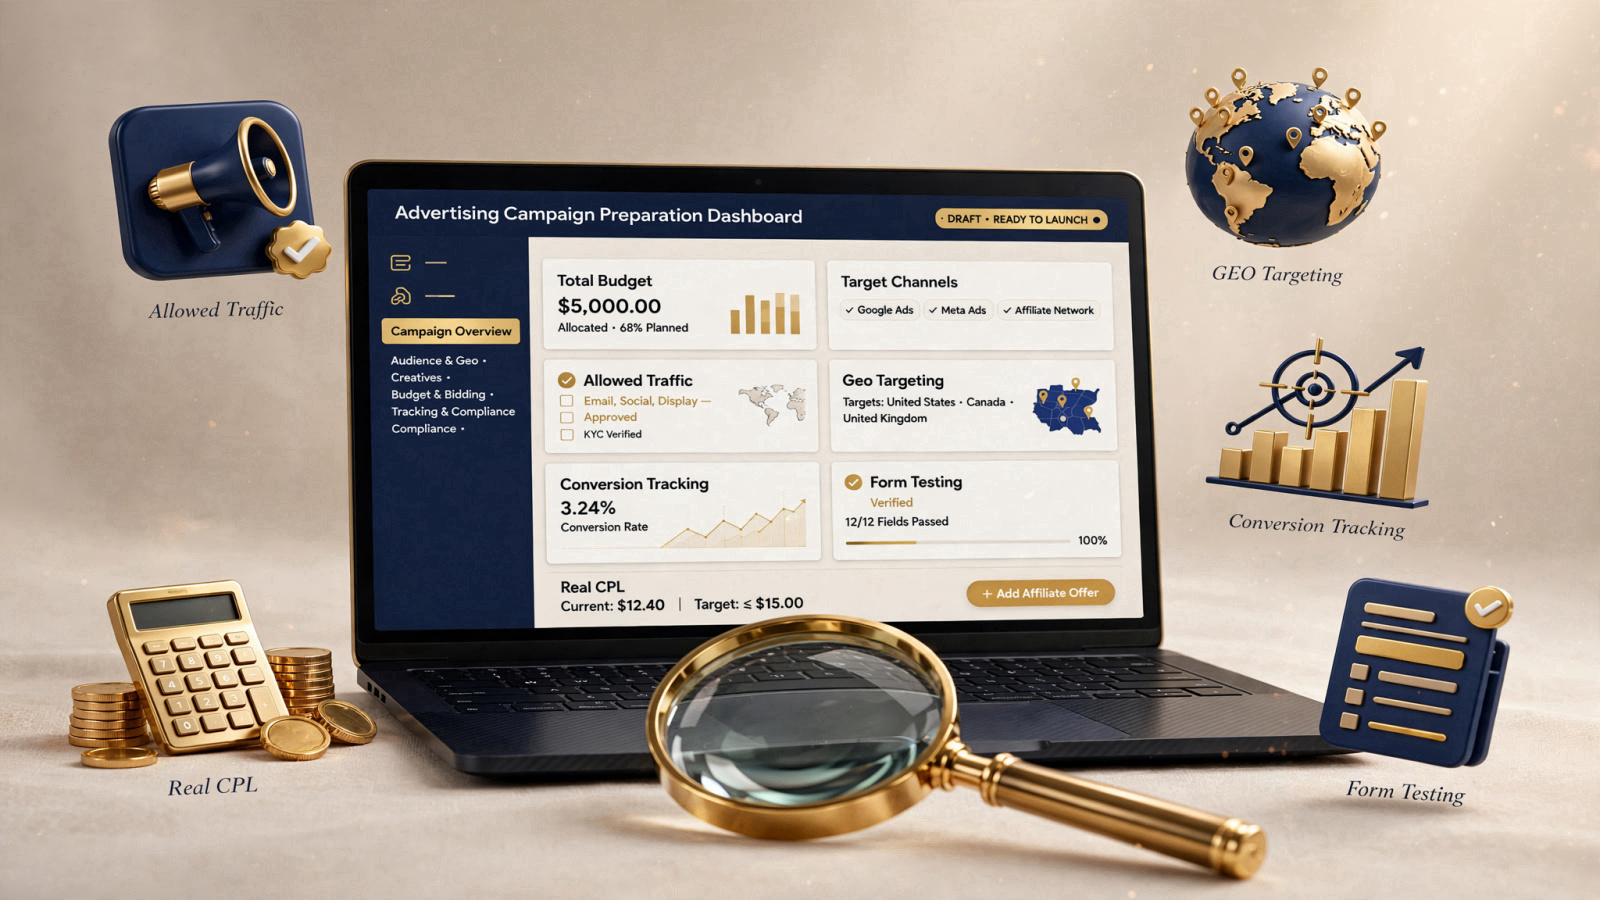
Prepare campaigns with confidence using a centralized advertising dashboard. Track budgets, targeting, conversions, and form readiness in one place.
1. Legal Terms and Traffic Source Restrictions
The first thing to start with when working with a new affiliate program (AP) or a direct advertiser is checking the traffic source rules.
- Allowed GEOs and Languages: Ensure that your targeted GEO is strictly included in the offer’s whitelist. Launching to an entire country when the advertiser only accepts traffic from specific regions or cities is a critical mistake.
- Google Search Permissibility: Not all offers allow search context ads (Google Search). Some advertisers accept only Facebook, TikTok, or SEO, while context ads are entirely banned.
- Brand Bidding: A separate rule item is using the brand name in keywords (e.g., buying ads for brand queries like [Brand Name]). If this is prohibited and you forget to collect a list of negative keywords, the account will face penalties or payout cancellations within hours.
- Limits and Holds: Clarify daily lead volume limits (Cap) and hold periods (the traffic quality verification period by the advertiser). If your budget is calculated for quick turnover, but the hold is 30 days, this is critical for avoiding cash flow gaps.
2. Payment Model and Economics: How Much a Lead Costs
Understanding the exact target action the advertiser pays for is the key to calculating campaign unit economics.
- Action Type: Payment per application (CPL), approved lead (Approved Lead), or a full sale with a percentage share (RevShare or CPA).
- Why Leads Might Not Be Paid: A common beginner problem is the discrepancy between the number of created leads in the tracker and the payouts from the AP. The advertiser has the right to reject a lead for several reasons: duplicate (the user previously applied), fraud, invalid phone number, underage age, or refusal to confirm the order by phone via the call center.
- Difference Between Raw Leads and Approved Leads: At launch, keep in mind that the real approval rate (Approval Rate) can range from 30% to 70% depending on the vertical.
Example of CPL Calculation and Economics
Suppose we are launching an e-commerce offer with the following inputs:
- Payout per approved order (Payout): $30.
- Expected approval rate (Approval Rate): 50%.
- This means that for every 2 applications, we will get paid for only 1 real approved lead.
- Consequently, the acceptable cost of acquiring one raw lead (Target Raw CPL) must be strictly lower than the calculated math: if you pay a lot per click and conversion to lead is low, the campaign will go into negative before the lead approval stage.
3. Technical and Content Hygiene of the Landing Page
Before launching ads, check the entire funnel with your own eyes by walking through a real user’s path:
- “Ad — Pre-lander — Landing” Consistency: Ensure that creatives and text in the ad match what is written on the landing page. If the ad promises a 70% discount and the landing page shows the standard price, users will instantly bounce.
- Functionality of Forms and Buttons: Fill out the test order form yourself. Make sure the lead successfully drops into your tracking system (e.g., Keitaro) and reaches the affiliate program.
- Redirects and Tracking: Verify the correct transmission of Postback/Pixel so that every conversion is recorded in the Google Ads account and tracker without delays.
- Mobile Adaptation and Speed: Most traffic in Google Ads comes from mobile devices. If the site takes more than 3–4 seconds to load or the order button “floats” on smartphone screens, you will lose up to half of potential customers.
- Relevance of Prices and Availability: Check if prices or offer conditions have changed during the campaign preparation stage.
4. Sequence of Checks: From Search Query to Lead Approval
For systematic control, our team uses an end-to-end verification algorithm:
- Search Stage: The user enters a keyword into Google Search. You check the collected keywords for relevance and the presence of negative keywords.
- Click Stage: The user clicks the ad, landing on a pre-lander or lander. It’s important to rule out empty clicks and redirect bugs.
- Conversion Stage: The user fills out the form. The tracker records the conversion, and the Postback sends data back to the advertising network.
- Processing Stage: The advertiser’s call center confirms the order.
- Final Reconciliation Stage: Statistics in the AP update, and you see the real approval rate.
5. Checklist Before Campaign Launch
Before hitting the “Enable” button in Google Ads, go through this list:
- Negative keywords added (irrelevant search queries and competitor brands excluded, if prohibited).
- Ad text completely matches the offer on the landing page.
- Landing page loading speed tested on mobile networks.
- Order form works, test lead successfully recorded in the tracker.
- Conversion transmission (Postback) set up in Google Ads.
- Economics calculated: average cost per click (CPC), site conversion rate (CR), and approval rate (Approval) are known.